Painting a Jeep Wrangler involves various costs, making it essential for business owners to understand the financial allocations at play. As the demand for personalized vehicle aesthetics grows, particularly among service-oriented businesses, budgeting for a high-quality paint job becomes crucial. This article breaks down the cost of painting a Jeep Wrangler into manageable expenses, explores DIY estimates for budget-conscious owners, and offers effective cost-saving tips that emphasize quality and durability. Each chapter delves into details that guide you through informed decisions regarding your Jeep’s appearance.
null
null
From Primer to Shine: A Real-World Guide to DIY Jeep Wrangler Painting Costs and Time
Painting a Jeep Wrangler is as much about smart budgeting as it is about the final look. The decision to DIY or hire a professional hinges on how much you want to save, how patient you are with a time-consuming process, and how crucial a flawless finish is to you. The cost landscape isn’t a single line; it expands with the scope of the job, the quality of materials you insist on, and the quality of your workspace. What follows is a practical, grounded exploration of what a DIY painting project on a Wrangler typically costs, what it takes in terms of time, and how to navigate the trade-offs so you end up with a finish that looks good, lasts, and doesn’t drain your budget. It’s a narrative built around real numbers, not wishful thinking, and it recognizes the Wrangler’s distinctive challenges—the creases, exposed metal, and rugged panels that demand careful prep and careful application if you want a durable look that survives off-road scrambles as well as street driving. The numbers here mirror the general guidance that many shops publish but recast them through the lens of a do-it-yourself project. For the curious reader, a firsthand look at the broader market context is available in industry sources, but the practical heart of this chapter stays with the numbers you can actually plan around in a home or garage setting. If you’re weighing the costs against a wrap or partial repaint, keep in mind that you can often mix and match approaches to protect valuable areas while still achieving a refreshed appearance. When the time comes to consider a paint-and-wrap package, you’ll find there are ways to secure more protection and style at a cost that might be lower than a full, traditional paint job. For readers who want to compare paths, this is a good moment to consider a partial repaint of the hood, roof, or bumpers, which can offer a striking transformation without the full price tag. And if you’re contemplating how wraps compare against a full paint job, you can explore practical insights in related resources like the wrap-focused guides that outline typical costs and outcomes.
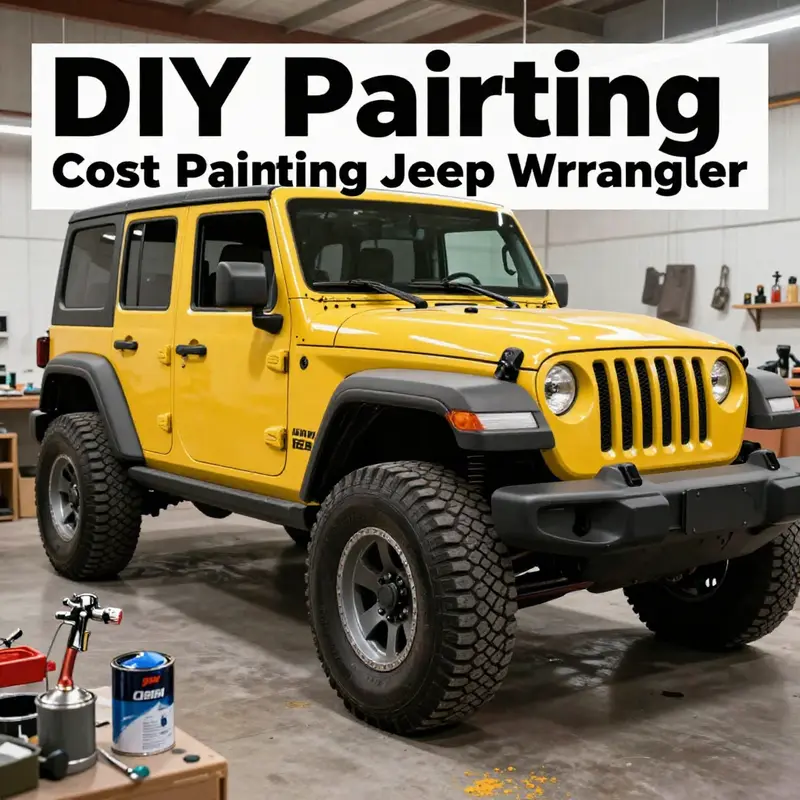
DIY painting a Jeep Wrangler is more than buying color and squeezing spray into a can. At its core, it’s a multi-stage project that demands discipline, a clean, dust-free environment, and a willingness to commit several days—often a full weekend plus a few more days for cure and final touch-ups. The cost math starts with the basics: you can kick off a basic DIY paint job for roughly $300, which covers the core supplies you’ll need to apply a fresh coat of paint and protect it with a clear layer. This baseline excludes the two big-ticket items that many builders either already own or can borrow: a reliable air source and a spray gun. If you don’t own these tools, you’ll typically add between $150 and $500 for an air compressor and another $100 to $300 for a spray gun, depending on quality and features. In many shops, a comparable professional job is priced in the range of several thousand dollars, and the difference represents the cost of equipment, controlled environment, and labor, not just the pigment and its protectant.
Even in the DIY framework, the quality of materials matters. Primer, basecoat, and clear coat are not interchangeable in performance. A common basecoat/clearcoat system provides solid performance at a moderate price, roughly mirroring the standard finishes found across many garages that aim for a balanced blend of durability and affordability. If you crave a higher-end metallic or pearl finish, plan for a higher cost—roughly $1,000 to $2,000 for the paint portion, plus the same basic primer and clear coat that the standard path uses. If color matching is necessary because you’re trying to replicate an existing Wrangler’s shade or want a bespoke hue, you should budget an extra $200–$500. These numbers reflect the typical market reality: the pigment itself can be inexpensive, but getting a durable, even finish with a protective clear coat often requires controlled application conditions and a consistent technique, both of which contribute to the final price.
Surface preparation in a DIY scenario still looms large, even if the total dollar figure is lower than a full professional job. The Wrangler is a body with sharp lines, recessed areas, and exposed metal at several junctions where panels meet. Sanding, dent filling, rust treatment, and priming set the stage for what comes next. In a professional job, surface preparation can comprise 20–30% of the total cost; in DIY, while your direct cash outlay is smaller, the time commitment is heavy. Expect to spend a substantial portion of your prep time on shaping panels, addressing dents, and ensuring the old paint is properly removed in areas where adhesion might be compromised. If you skip steps or rush the primer, you risk a finish that sags, peels, or shows orange peel once the clear coat cures. The principle is simple: the better you prepare, the more consistent and long-lasting the finish will be, regardless of whether your paint job is DIY or professional. A dusty workshop or a poorly vented space can introduce micro-contaminants that become trapped in the clear, leaving you with blemishes that require a rework later on.
The actual painting phase—base coat and clear coat—requires both technique and timing. A standard basecoat/clearcoat system provides a durable shield and a clean appearance, with application done via spray equipment in a controlled context. The base coat is typically layered in light passes to build color evenly; the clear coat, applied in multiple layers with careful sanding between coats, creates depth and protects the pigment from UV exposure and minor abrasions. The cost for the basecoat in a standard finish runs roughly between $600 and $1,200, with higher-end metallics or pearls pushing that range higher. If you opt for a custom color that isn’t readily stocked by your supplier, you’ll add another $200–$500. The clear coat—an essential final shield—adds roughly $200–$500 to the bill in a professional setting, but in a DIY workflow, you’ll often find you’re purchasing multiple cans to ensure adequate coverage and even layering. The time investment for painting itself—assuming you have a clean, controlled space—can be measured in hours: perhaps a full day or two for multiple coats, plus an additional day or so for basic cure and any re-sprays if you spot issues.
In terms of overall labor, a professional shop operates with trained technicians and a fixed studio schedule. They price labor at roughly $75–$150 per hour, and a full paint job can span 30–60 hours, depending on the complexity of the Wrangler’s body lines and any bodywork required before the color goes on. The resultant labor cost for a professional job can range from about $2,000 to $5,000 or more. For a DIY project, you are paying primarily with time rather than direct labor charges, since you’re the one applying the coats and managing the process. This is a critical distinction: your cost is driven by the hours you invest rather than a line-item labor fee, which means your final tally is highly sensitive to your pace, skill, and how much you insist on perfection. The upshot is clear: DIY can dramatically reduce the sticker price but demands more of your time, discipline, and attention to detail. If you lack a dedicated workspace, consider a garage with proper ventilation and dust control, because the ability to maintain a clean environment correlates directly with the quality of your final finish.
Beyond the core painting components, there are optional add-ons that hobbyists often explore as they plan their budget. Tinting windows is a common upgrade that can add $300–$600 to the project, while interior detailing might add another $150–$400 if you’re aiming for a showroom-like result. If you discover rust or dents during surface preparation and decide to address them, bodywork repairs can range from $500 to $2,000, depending on how extensive the damage is. These additional costs sometimes push a DIY project toward the price range that is more typical of a pro job, particularly if you need to substitute panels or perform more extensive repairs before painting. A practical way to approach this is to separate the color work from the bodywork and treat any necessary repairs as a separate budget line, so you’re not surprised by cascading expenses after you’ve invested in primers and paint.
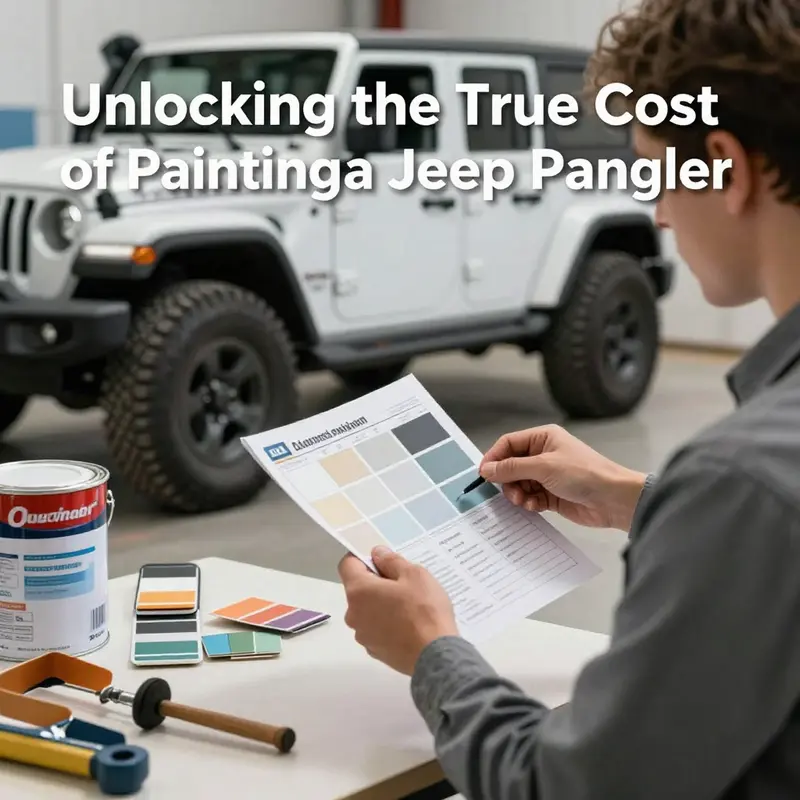
For readers who want to balance cost, performance, and time, there are strategic choices you can make. Start with a good prep so you’re not fighting adhesion problems later. Use a paint booth or at least a garage with excellent airflow to minimize dust and contaminants. Consider partially painting to minimize expenditures yet still achieve a striking effect—paint the hood, roof, or bumpers, for example, while leaving the rest of the vehicle in its existing finish. When it comes to color, choose color matching from reputable suppliers and, if you can, buy in bulk or through sources that ensure color accuracy. The color and finish selection has a direct bearing on the final look, resilience, and the requirement of rework down the line if a color mismatch or gloss issue becomes evident after curing. A nuanced approach to color and finish—knowing when to stretch for metallic or pearl and when to settle for standard basecoat/clearcoat—will serve your budget well.
If you look across the DIY landscape, you’ll find that many enthusiasts lean on community knowledge, workshop classes, and hands-on practice to minimize risk. A common caution is the risk of DIY attempts that produce subpar results, especially for first-timers who attempt a full-body paint job without sufficient ventilation and a controlled environment. A misstep in mixing ratios, improper thinning, or insufficient drying time can yield runs, sags, or poor adhesion that undermines both aesthetics and longevity. The moral, then, is not to shy away from the project but to assess your current skill level honestly and plan around it. If you’re newer to painting, you might start with a small panel or a test piece to refine your technique before tackling a full Wrangler panel. A practical rule of thumb is to allocate more time than you think you’ll need for the prep and cure stages, and to give yourself a cushion for any necessary touch-ups before the final layers go on.
The path you choose—DIY or professional—depends on how you weigh time, money, and the importance of the final polish. If cost is the central concern, the DIY route can deliver a dramatic saving, particularly if you already own some of the tools or can borrow equipment from a friend or a shop. The basic DIY kit—primer, basecoat, and clear coat alongside modest supplies like sandpaper, masking tape, and drop cloths—can fall in the $500–$1,500 range depending on how comprehensive you want your setup to be. The essential tools, namely an air compressor and a spray gun, can add another couple of hundred dollars if you must purchase them new and are not already on hand. It’s also fair to consider a paint-and-wrap option as a compromise. Some shops offer combinations that provide partial wrapping of certain areas for protection and style at a lower cost than a full repaint. This is particularly attractive if you want a refreshed look faster while keeping the base color intact in previously well-adhered panels. The goal, as always, is to avoid the trap of cheap materials or rushed application that leads to a glossless, flaky finish after a short period. If you’re serious about achieving a long-lasting look, slow, deliberate prep and controlled application trump hurried work that saves a few dollars at the outset but costs more in rework later.
Those who want a structured reference for DIY inspiration can consult a broader set of sources that discuss the painting process, tools, and techniques in more detail. A reliable starting point is a well-known automotive publication that provides a cost breakdown and practical tips for Wrangler paint projects, including scenarios that illuminate how much you might expect to spend and how long the process typically takes. For a broader hands-on guide, you can also explore a detailed DIY resource that maps out the steps, tool lists, and safety considerations essential to a durable finish. By combining these external perspectives with your own planning, you can create a realistic, personalized plan that matches your capabilities and budget. And if you’re curious about how a cost-conscious wrap alternative stacks up against a full paint job, there’s a dedicated piece that breaks down the economics of wrapping a Jeep and how those costs compare, including considerations about durability and appearance. It’s not about choosing one path and never revisiting the other; it’s about understanding where your project sits on the spectrum and choosing the approach that best fits your Wrangler, your skills, and your budget.
To anchor the discussion with a practical example of the decision-making process, consider the following scenario: you want a solid, durable finish on a Wrangler you plan to drive off-road and into daily life. You decide on a standard basecoat/clearcoat system with a custom color match to refresh the vehicle while preserving its distinctive geometry and rugged character. You budget approximately $300 for the most essential DIY materials, plus $250 for sanding and masking supplies, with an additional $300–$500 set aside for primer and the first batch of basecoat. If you don’t own the necessary tools, you add $250 for a basic spray gun and perhaps $200 for an air compressor upgrade. If you want metallic or pearlescent depth, you’re looking at the higher end of the basecoat price range, pushing the materials total to around $1,000–$1,500, not counting the cost of a multi-pack clear coat. If you decide to proceed with a window tint, interiors detailing, or minor bodywork repairs, you’ll have to allocate further funds. The cumulative effect is a path where savings are achievable, but the final investment still reflects the Wrangler’s unique challenges. The result can be a surprisingly polished finish when you respect the process, and it can be a source of pride for the owner who did the work themselves.
For readers drawn to the internet’s collective wisdom, there are credible sources that discuss paint costs and procedures in depth. One authoritative guide offers a structured, experience-based approach to Wrangler paint projects and provides concrete numbers that align with the overview presented here. It’s a useful companion to the information you’ve encountered so far and helps you calibrate expectations against the specifics of your project. In addition, there are practical, hands-on resources that lay out step-by-step methods, tool checklists, and safety precautions. As you explore, remember that real-world results depend on weather, ventilation, equipment quality, and your own workmanship. If you’re new to automotive painting, consider a workshop or a measured, staged approach that lets you test your technique on smaller panels before committing to full coverage. The aim is not perfection on the first attempt but consistent progress toward a robust, attractive finish that stands up to memory-making adventures in a Wrangler you’re proud to call your own.
If you’re curious to dive deeper into wrap-based alternatives, you can explore practical guidance from a dedicated resource that outlines the costs and trade-offs of wrapping a Jeep, including scenarios where a wrap can deliver a protective layer while preserving flexibility in color options. This alternative path can be attractive for Wrangler owners who want to refresh the appearance without committing to a full repaint. The conversation around paint versus wrap is nuanced and deserves careful budgeting and planning. It’s also worth noting that the choice between paint and wrap is not exclusive; some owners use partial wraps to cover high-wear areas or create accent textures that pair with a refreshed base color. The goal is to design a final look that feels like a cohesive statement rather than a piecemeal update, and to do so within a budget that makes sense for your driving habits and storage capabilities.
For readers who want to anchor their plan in a reliable external reference, a widely cited guide provides up-to-date commentary on Wrangler paint costs and procedures. It includes practical breakdowns of surface preparation, paint application, and finishing costs, along with pragmatic notes about color matching and finish quality. In closing, the journey from primer to shine on a Jeep Wrangler is as much about disciplined preparation and patient application as it is about the color you choose. The DIY path can be deeply rewarding and significantly cheaper than a professional job, provided you approach the project with realism about the time and skill required. The end result—an even, durable, and aesthetically pleasing finish—reflects careful prep, clean lines, and controlled curing. If you’re weighing your options, remember that every hour you invest in prep and every day you allow for cure is a step toward a final finish that you’ll be enjoying for years to come. For a concise, consultative view on wrap costs as a comparison point, you can read: How much does it cost to wrap a Jeep? Unwrap the price.
External resource: For an in-depth, expert perspective on current paint costs, procedures, and practical considerations, refer to the automotive publication that provides the latest breakdowns and tips: https://jalopnik.com/jeep-wrangler-paint-job-cost-breakdown-and-tips-1851190133
Stretching the Budget Without Sacrificing Shine: A Practical, Deep Dive into Painting a Jeep Wrangler
Choosing to repaint a Jeep Wrangler is more than a cosmetic decision; it’s a commitment to long-term protection, resilience against the elements, and a personal statement about how you value your vehicle. The Wrangler carries rugged lines and exposed metal edges that demand careful preparation and a finish that stands up to dust, grime, UV exposure, and the daily grind of off-road life. When you start evaluating cost, the instinct is to compare price tags, yet the wiser move is to map out a plan that aligns quality with your budget and lifestyle. The pathway you choose—professional service, a DIY project, or a hybrid approach—will sculpt the final price, the finish, and, ultimately, how satisfied you feel with the result. What follows is a cadence of cost awareness and practical choices that can guide you toward a finish that looks good and endures, without letting the expense spiral out of reach.
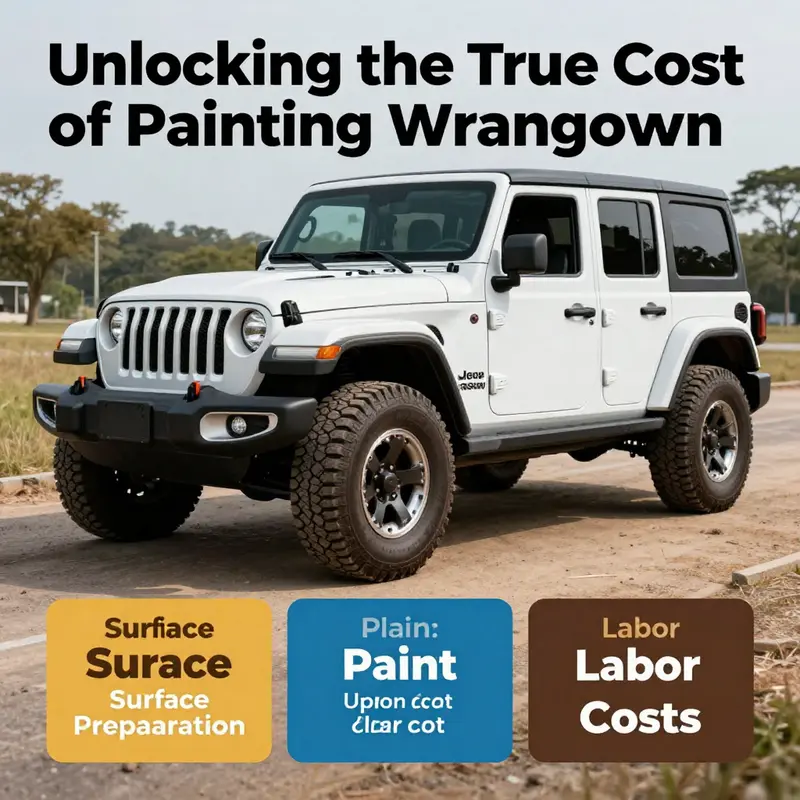
Most people begin by weighing the two broad routes: hiring a professional to handle the entire job or taking on the project themselves. A full professional paint job tends to come with a price tag that reflects the complexity of a Wrangler’s contours, the need for precise surface preparation, and the controlled environment these shops provide. The typical breakdown shows surface preparation consuming a sizable portion of the total cost, painting and finishing driving the bulk of the labor, and additional costs adding a fraction that can still swing a final total by a few thousand dollars depending on scope. In practical terms, a full pro paint job often lands in a broad range that can stretch from a comfortable mid-range into a real higher tier, with final numbers that can extend well beyond four figures, especially if you include extras like window tinting or interior detailing. Understanding the allocation helps with decisions: what you truly need, what you can defer, and what you should insist on for durability and resale value.
Surface preparation, the opening act, is where the Wrangler earns its keep against future failure. Sanding to remove old paint, filling dents, treating rust spots, and priming to ensure adhesion all eat into the cost. The Wrangler’s exposed creases, hinges, and door gaps mean this step must be meticulous. Skipping it may reduce upfront costs but invites paint peeling, bubbling, or premature wear—costs that can quickly erase any initial savings. In practical terms, you may anticipate 20–30 percent of the total professional bill going to surface preparation. When you see the estimate break down into percentages, it’s tempting to think the costs are negotiable, but in reality the prep sets the stage for a durable finish. After the prep, the actual painting comes into focus. The basecoat and clearcoat, whether standard or an elevated finish, account for a significant share of the cost, driven by the paint type, color complexity, and the number of coats applied. A standard basecoat with a clear finish is typically the workhorse, while metallics or pearls and custom colors push the price higher due to pigment costs, matching efforts, and the need for more layers to achieve depth and durability. The note about controlled spray booths is not just about aesthetics; it’s about dust-free, even application that resists chipping and fading under sun exposure and road debris. It’s easy to underestimate how much the environment contributes to a high-quality result until you’ve seen the difference between a glossy, uniform finish and a speckled, inconsistent one.
The proportional costs of the painting step itself—often the most visible portion of the bill—reflect both materials and process. Basecoat/clearcoat packages fall into a broad spectrum: a standard job tends to be lined up in a middle range, with high-end finishes climbing toward the upper end. For a Wrangler, color matching adds another layer of value but a separate line item; if you’re not selecting a color already stocked by the shop, you’re paying for accuracy in color reproduction, which can increase the bill modestly yet meaningfully. The clear coat is not a mere gloss; it is the shield that resists UV shrinkage, stone chips, and moisture intrusion. What seems like a small difference in the finishing stage can yield years of durability, or conversely, the need for early refinishing if the finish is thin or uneven. In most pro estimates, clear coat and finishing sit in the 10–15 percent zone, reinforcing the idea that finishing quality matters as much as the pigment under it.
Labor, a significant and sometimes unpredictable driver of total cost, reflects craft, time, and the reputation of the shop. Rates vary regionally and with the shop’s experience, and a Wrangler’s shape means longer, more careful masking and sanding than a sedate sedan build. The typical labor range accommodates a broad geography and skill spectrum, with estimates often landing in a few thousand dollars for a full repaint and extending higher when additional bodywork or a multi-layer finish is requested. If you’re calculating, plan for roughly 20–40 percent of the total price in labor, mindful that the clock can run long depending on environmental conditions, curing time, and the shop’s workflow. For anyone considering DIY, the labor section becomes a personal calculation: the time you commit translates into savings, but it is time you can’t devote to other projects or duties, and your results hinge on your tooling, ventilation, and technique.
Optional add-ons are where choices can tilt the budget without a dramatic shift in the core project. Window tinting, interior detailing, and bodywork repairs may seem like peripherals, yet they are common add-ons that can have outsized impact on the final appearance and the vehicle’s protection. Tinting, for instance, changes the interior climate and glare; it can also affect heat reduction and privacy, making the upfront cost worthwhile in specific climates and use cases. Bodywork repairs—dents, rust treatment, or minor panel alignment—are often necessary for Wranglers that have seen rough trails or winters. While optional, these steps can be the difference between a flawless, showroom-look finish and a finish that looks good in photos but lacks structural polish over time.
Combining all these components yields a ballpark total that can feel daunting: a full professional paint job, depending on finish, color, and scope, can land anywhere from the mid four-figure range to well into the five-figure domain. In the typical market, estimates commonly stretch from roughly $3,500 to $8,000 or more for a complete job with standard scope and materials, with higher-end finishes and added services nudging the total higher. That range, while broad, maps logically to the distinction between a cost-conscious refresh and a performance-oriented, long-lasting color transformation. It also underscores why many Wrangler owners pursue cost-reducing strategies that preserve the look and durability while not sacrificing the core protective function of the coating.
Against this backdrop, a practical path to meaningful savings emerges: the idea of a “paint and wrap” package that some shops offer, combining partial wrapping with a base paint concept for extended protection at a lower cost than a full-body paint. This is not a universal option, but it can be a strategic compromise when you want to refresh the exterior without the expense of a full repaint. The concept is simple: you invest in a robust surface and color system for the parts that endure the most abuse, while leaving some sections in the original paint or in a simpler treatment. The result can be visually striking and protective, while keeping overall costs under control. If you’re curious about exploring a comparison between full repaint and wrap-based refreshes, a practical resource shares a clear layout of the wrap costs and how they stack against a full paint job. For a concise look at those figures, you can explore a guide focused on wrap costs and price ranges, written for enthusiasts who want a straightforward cost comparison. This route demonstrates how even non-traditional finish strategies can deliver a compelling result without locking you into one expensive solution.
From a budgeting standpoint, the equation is not only about the numbers on the invoice; it is about the reliability of the results and the longevity of the finish. The Wrangler’s exposure to sun and road grime makes it essential to invest in good materials—primer, paint, and especially a durable clear coat—that resist UV fade and chipping. The initial outlay for quality primers and topcoats may be higher, but it pays off in lower maintenance costs and fewer touch-ups over the years. The research emphasizes that cost-savings from DIY or partial repaint options can be compelling, but the long-term cost of a poorly executed job often undermines those savings through early failure or diminished resale value. This recognition leads many owners to a balanced plan: perform thorough prep and careful selection of materials, decide on a scope that makes sense for your budget and goals, and then choose a fabrication path that aligns with your time and skill. In other words, the smartest path is not simply the cheapest path but the one that preserves durability, appearance, and vehicle value over time.
For those who lean toward DIY, a disciplined approach is essential. The materials needed are modest in entry cost, but the real investment is time, space, and technique. A practical DIY kit, typically including sandpaper in multiple grits, a pair of consultative primers, basecoat in a color you adore, a durable clear coat, and the necessary hardware for spraying and ventilation, can start in the lower hundreds of dollars. You’ll also need the right masking and protection gear to avoid contamination of the paintwork and to protect yourself. The big caveat here is that the finish must be stored and cured in a dust-free environment with proper airflow; otherwise, you risk a finish that looks speckled or uneven. The reality of a DIY Wrangler paint job is that the clock is your ally or your enemy—investing two weeks of focused effort might yield a finish that looks excellent, while rushing a weekend project can leave you with a result you’re not proud of. The decision to go DIY is ultimately a matter of tolerance for risk, pride in craft, and the willingness to invest time.
Another practical dimension is timing and seasonality. Buying paint in bulk and looking for seasonal promotions can shave significant dollars off the material bill, especially if you’re planning a project that stretches over a few weeks or months. This tactic works particularly well if you anticipate multiple future projects or if you want to stock up on masking materials, tapes, and reusable protective coverings that stand the test of time. It’s not unusual for a thoughtful buyer to take advantage of sales during transitional seasons when vendors clear out older stock or offer bulk discounts. The savings here compounds across projects and can reduce the perceived cost of a single repaint by a noticeable margin when you’re building a small, repeatable toolkit for future work.
In practical terms, the best way to manage costs is through deliberate scoping. If the entire Jeep’s exterior isn’t in need of a complete refresh, consider partial repaint strategies. Painting only the most visible or most worn sections—like the hood, fenders, and doors—not only reduces the surface area that needs coating but also injects a fresh look where it’s most noticeable to the eye. A partial strategy can be particularly effective for Wranglers that see daily use but remain under a protective wrap or primer in other areas. It’s a way to deliver a strong visual impact while avoiding the expense and downtime of a full-body repaint. In this light, the cost savings become more than a number; they translate into a practical schedule, less downtime, and a backlog of projects you can pursue over time rather than all at once.
As you plan, it’s also worth thinking about the long-term maintenance of a refreshed finish. The best finishes resist UV fade, resist chips from off-road debris, and hold their gloss with less frequent polishing. The trade-off for a slightly higher initial price is reduced frequency of maintenance, fewer compounding sessions, and a finish that retains its color over longer periods. While it’s tempting to chase the lowest price, the chapter’s logic is clear: opt for quality preparation, a thoughtful color strategy, and a finish that endures—these choices yield the most meaningful savings over the life of the Wrangler’s exterior.
A note on decision-making can help you move from intention to action. Start by listing the top three outcomes you want from the paint job—durability, appearance, or a particular color—and then map those outcomes to a budget. If durability tops your list, you’ll likely invest more upfront in primer quality, a robust base, and a thicker, multi-layer clearcoat. If appearance is paramount, you might lean toward a more advanced finish and color matching, accepting a higher price but achieving a more striking result. If price is your primary driver, you’ll find more room by narrowing the scope to essential areas, doing more prep work yourself, and selecting a finish that still offers weather resistance and a reasonable life span. The guiding principle is that costs should be deliberate and linked to the value you seek from the finish, not a simple desire to own a brand-new coat.
To weave this together into a coherent strategy, imagine a phased plan. Phase one could be a comprehensive prep and enclosure of a defined work area to minimize dust. Phase two involves selecting a finish with a proven track record for durability in off-road environments, with consideration given to color and its longevity under sun exposure. Phase three looks at the scope—whether you want a full repaint or a selective refresh—paired with a realistic timeline and a contingency buffer for unexpected issues like dent repair or rust treatment. Phase four, crucial for keeping costs honest, involves gathering multiple quotes that use the same scope, materials, and process. This ensures you aren’t inadvertently comparing apples to oranges and helps you identify the real drivers behind each quote. Throughout these phases, the guiding thread remains constant: invest in the elements that deliver lasting protection and visual impact, while seeking efficiencies in tasks that do not compromise the core quality of the finish.
If you’d like a practical, deeper dive into the optional wrap route and how it compares to a full repaint, there’s a resource that lays out the math behind wrap costs and how they stack up to a complete paint job. You can explore this cost comparison with a focus on wrapping as a refresh option here: How much does it cost to wrap a Jeep. The link is a concise reference point for evaluating a tactic that can deliver a fresh look while preserving some of the original paint in areas where it still performs well. It’s not a universal solution, but it highlights how flexible the budgeting can be when you evaluate all the options available to a Wrangler owner who values both aesthetics and practicality.
In closing, painting a Jeep Wrangler is not a single decision but a balance of choice, craft, and foresight. The costs are real and often non-linear, reflecting both the complexity of the body and the expectations you bring to the finish. A thoughtful approach—prioritizing thorough prep, selecting durable materials, and choosing a scope that aligns with your budget—can deliver a result that looks fresh, lasts longer, and preserves resale value. DIY enthusiasts can achieve excellent outcomes with careful planning, while those who prefer the assurances of professional execution gain the confidence that comes with a controlled environment and a proven process. Either path benefits from a clear vision of the desired outcome, a well-structured budget, and a willingness to invest where it most impacts durability and appearance. This is how you transform a Wrangler’s exterior into a maintenance-friendly, head-turning surface without letting the price overshadow the purpose.
External resource for broader context: https://jalopnik.com/jeep-wrangler-paint-job-cost-breakdown-and-tips-1851190133
Final thoughts
Effectively managing the costs associated with painting a Jeep Wrangler is vital for business owners looking to enhance their brand’s visual appeal. The cost breakdown outlined in this article provides a clear framework for budget planning, while the DIY insights empower those with skills to undertake the project themselves, potentially saving on labor costs. Additionally, the cost-saving tips shared can help ensure that quality is not compromised while keeping expenses under control. Ultimately, being well-informed will help you make the best decisions for your Jeep’s appearance and financial health.